


In construction and surveying, laser levels are control tools that consist of laser beam projectors affixed to tripods, which are leveled based
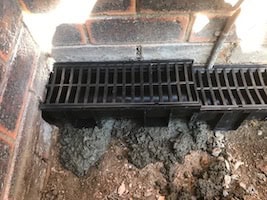
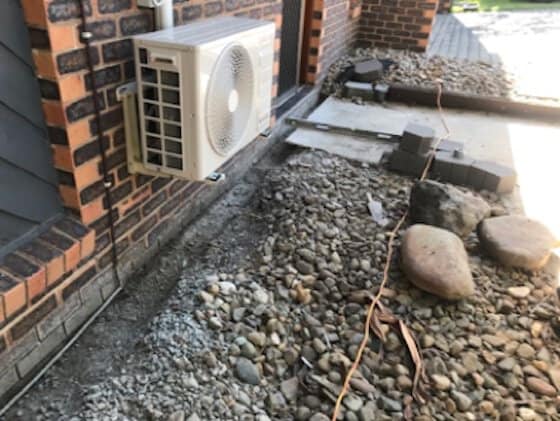
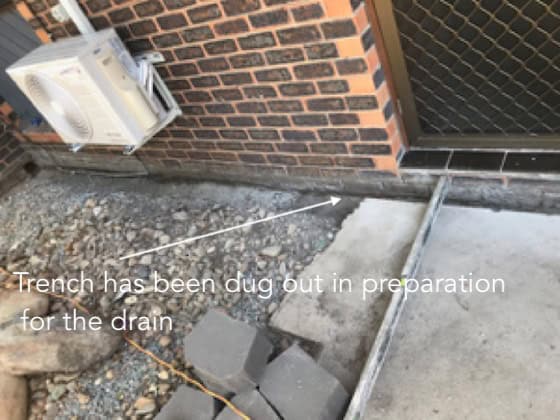
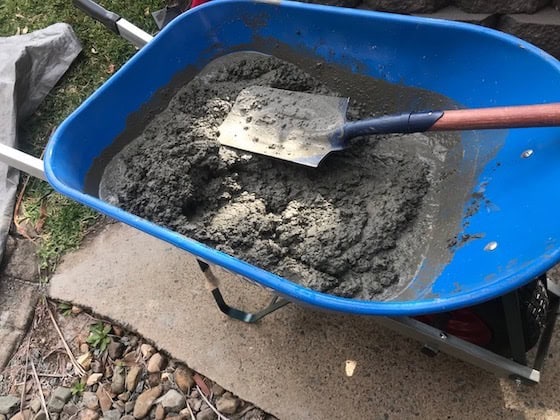
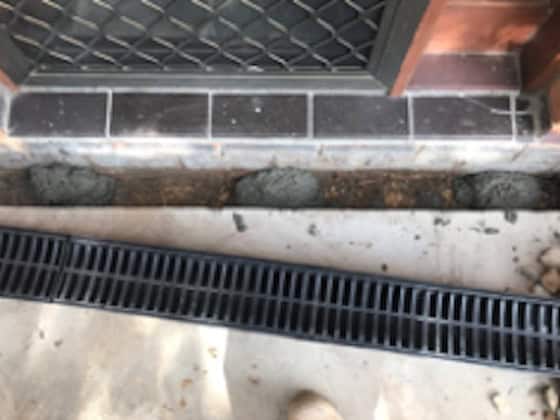
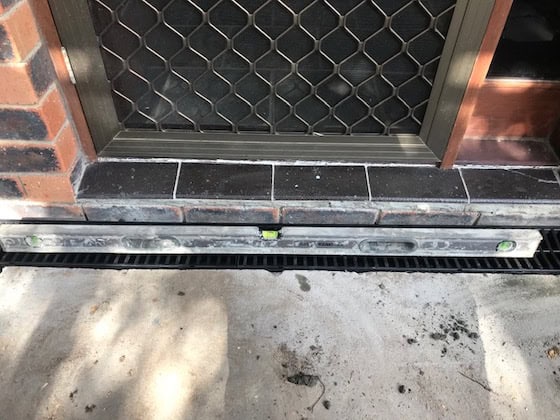
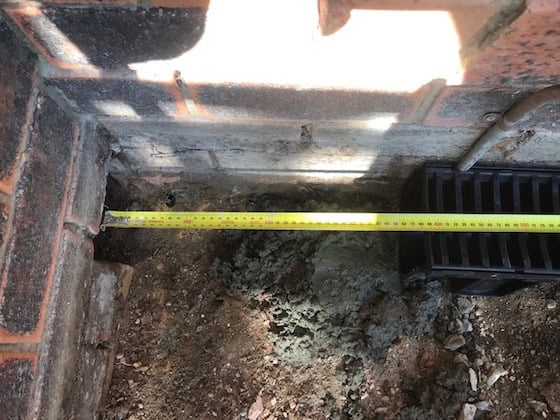
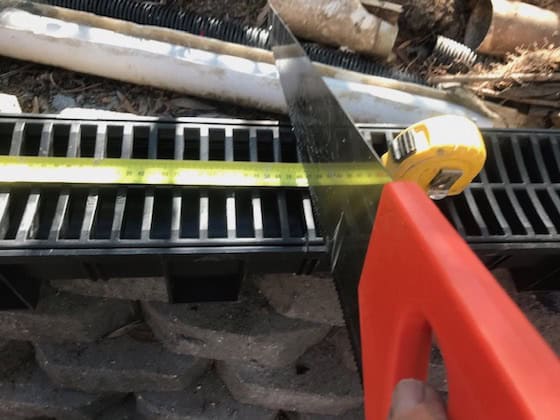
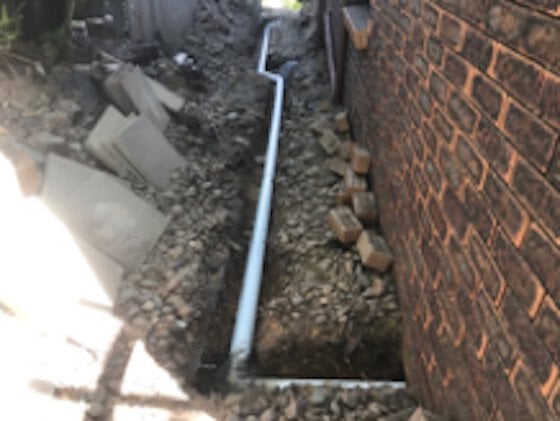
Martin – Builder and owner July 10 2024 Trench Drain What’s the purpose? Manage surface water runoff. What is the structure: A

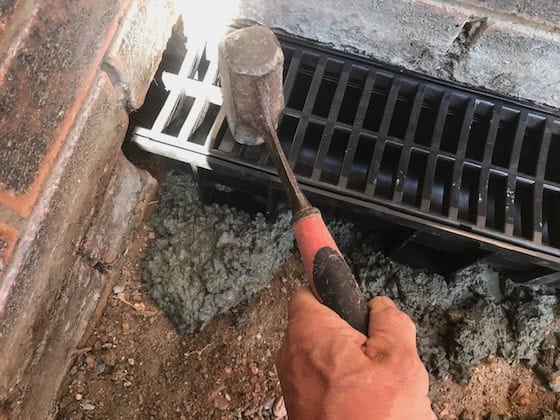
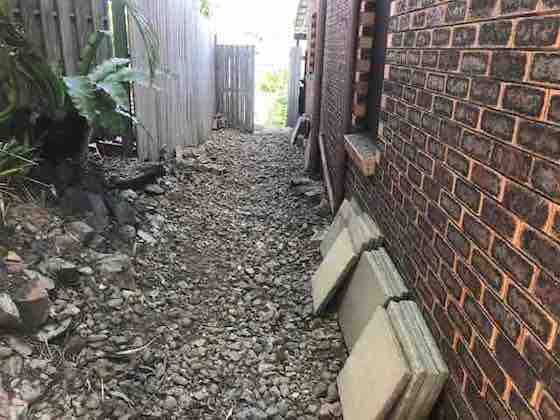
by Martin Home renovator A blocked drain is a common problem that we encounter from time to time. It might be a
