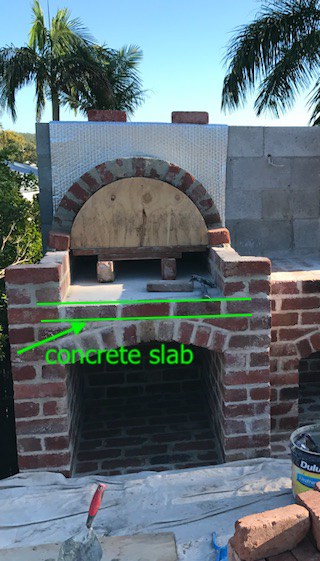

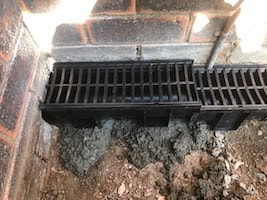
Martin – Builder and owner July 10 2024 Trench Drain What’s the purpose? Manage surface water runoff. What is the structure: A
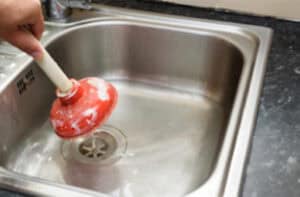
by Martin Home renovator A blocked drain is a common problem that we encounter from time to time. It might be a
by Martin posted June 10 2024 That loud knocking sound when you turn a tap off, the washing machine changes cycle or